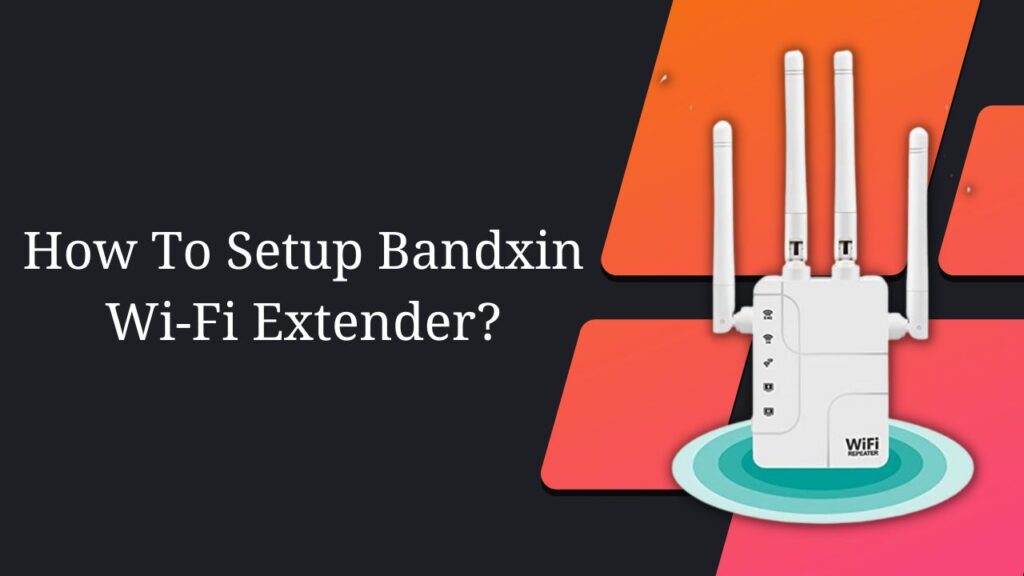
The WPS method is the best approach to setup Bandxin Wi-Fi Extender. Follow the following steps to setup Bandxin Range wifi Extender.
- Making use of the WPS button enables you to extend the reach of your host network to a greater distance.
- Before moving on, it is recommended that you check to see if the WPS capability is supported on your wireless network.
- You will need to click the WPS button on your host router during the first two minutes, and then you will need to push the WPS button on the BanDxin extender within the same time period.
- Wait for the Signal LED to turn solid blue; this will indicate that the WPS connection was established successfully.
- When this procedure is finished, the Wi-Fi repeater will be able to find the signal without any more assistance.
- Enjoy. When it comes to gaining access to their respective networks, the extended networks of both of your host networks utilize the same SSIDs (network names) and corresponding passwords.
Note:
- In some of the gateways that are provided by Internet service providers, the WPS capability is disabled by default. In the event that the WPS connection cannot be established, you will be required to log in to the administrative page in order to setup BanDxin wifi Extender.
- The site that you choose must be within the range of your existing host, network; if it is not, the functionality of your extended network will suffer as a result.
- In order to decrease the possibility of signal interference, it would be helpful if you could pick a location that is as far away from Bluetooth devices and other electrical appliances found in houses, such as cordless phones, microwave ovens, and baby monitors, as is humanly feasible.
How to RESET Bandxin wifi Extender?
By doing a reset, you’ll get your gadget back to the default settings it had when it was new. Restart the device’s setup, or use a previously saved configuration file to restore your previous settings.
- Method 1:
- Push and hold the reset button on the back panel of Bandxin wifi Extender with a solid pin for around 8 to 10 seconds when the device is powered on. After a successful reset, the LED lights on the gadget will flash rapidly in sequence, then turn off and then gradually come back on.
- Method 2:
- Use a solid pin to press and hold the reset button on the back panel of the device for approximately 8 seconds.Use a solid pin to press and hold the reset button on the back panel of the device for approximately 8 seconds.
- If you see the device’s lights flashing rapidly in sequence, turning off, and then gradually coming back on, this indicates that the device has been reset successfully.
