
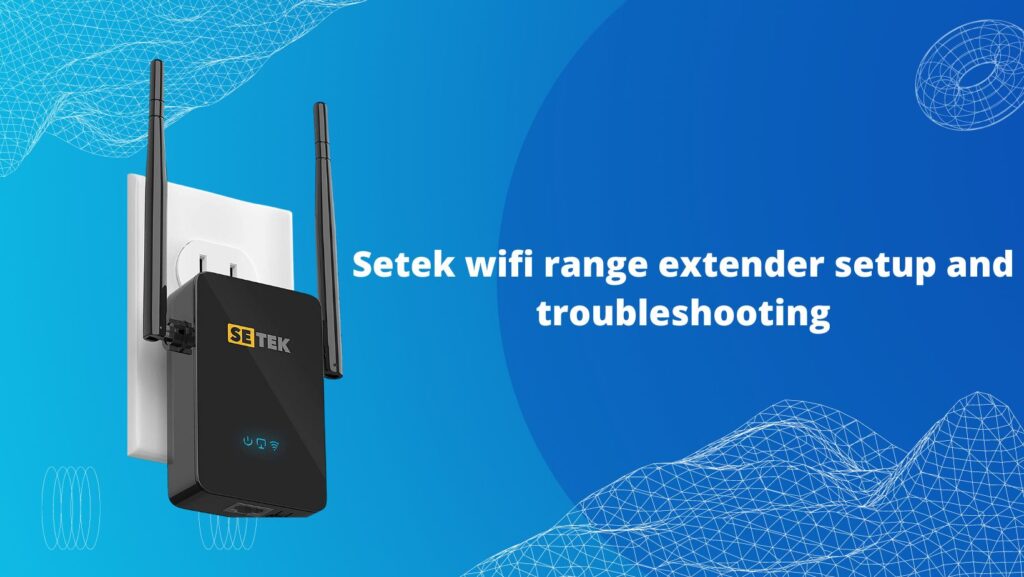
Is it difficult for you to improve your network’s signal strength? Trying to find a gadget to fill in the gaps in your WiFi signal? Well, a Setek WiFi range extender setup will make it simple for you to achieve that. It’s okay if you have no idea how to set up a Setek Wireless extender. Get familiar with the basic steps required to set up your Setek WiFi range extender.
Setek WiFi Range Extender Setup Using WPS
- First, connect your extender to the same outlet as your router in the same room. It will facilitate using WPS to establish a quick connection.
- After that, wait until the extender’s solid green LED light starts to flicker.
- The Setek WiFi range extender’s WPS button has to be pressed and held for 5 seconds in the next step. The same procedures apply to your network equipment.
- On the router and extension, a solid LED light will now start blinking. The Setek extender connects to the router in a maximum of 15–18 seconds.
- The WPS light on the Setek WiFi extender will switch to a solid green LED after you connect to it.
- Your extender should now be placed where you desire internet service after being unplugged.
Setek WiFi Range Extender Setup via 192.168.10.1
- When doing the web-based setup using the 192.168.10.1 IP address, plug your Setek extender into a location close or far from your router.
- When the extension device’s solid LED green light begins to blink, continue with the setup process.
- Open the WiFi settings on any wireless devices you have, including your Mac, laptop, and iPhone.
- The Setek Wireless Network will be identify as “Wireless N” Network92 in your WiFi list.
- To connect with Wireless N, click on it. A public or potentially dangerous network.
- Open a web browser of your choosing, then type 192.168.10.1 into the address box. You will be sent to the Setek extender configuration page by using it. If this IP address is ineffective, try resetting the Setek extender, switching to a new browser, or using a different device.
- For the Setek range extender, adhere to the on-screen directions. Your smartphone will then begin looking for available networks.
- The list of available networks will appear on your screen. Choose the WiFi network that you wish to expand from your primary network.
- For the WiFi network you’ve chosen, enter the password.
- Setek WiFi range extenders are complete when their WiFi indicator begins to blink and then solidly light up green.
- After that, disconnect your extender and put it within the router’s coverage area. It takes the extension 60 seconds to start up. For improved internet access, put the Setek extender away from the microwave, ovens, etc.
The Se tek range extender’s setup process is straightforward after following these instructions. Installing the Setek extender will allow you to enjoy 300 Mbps download and upload speeds. It enables Ethernet connectivity to devices like game consoles, smart TVs, firesticks, and more.