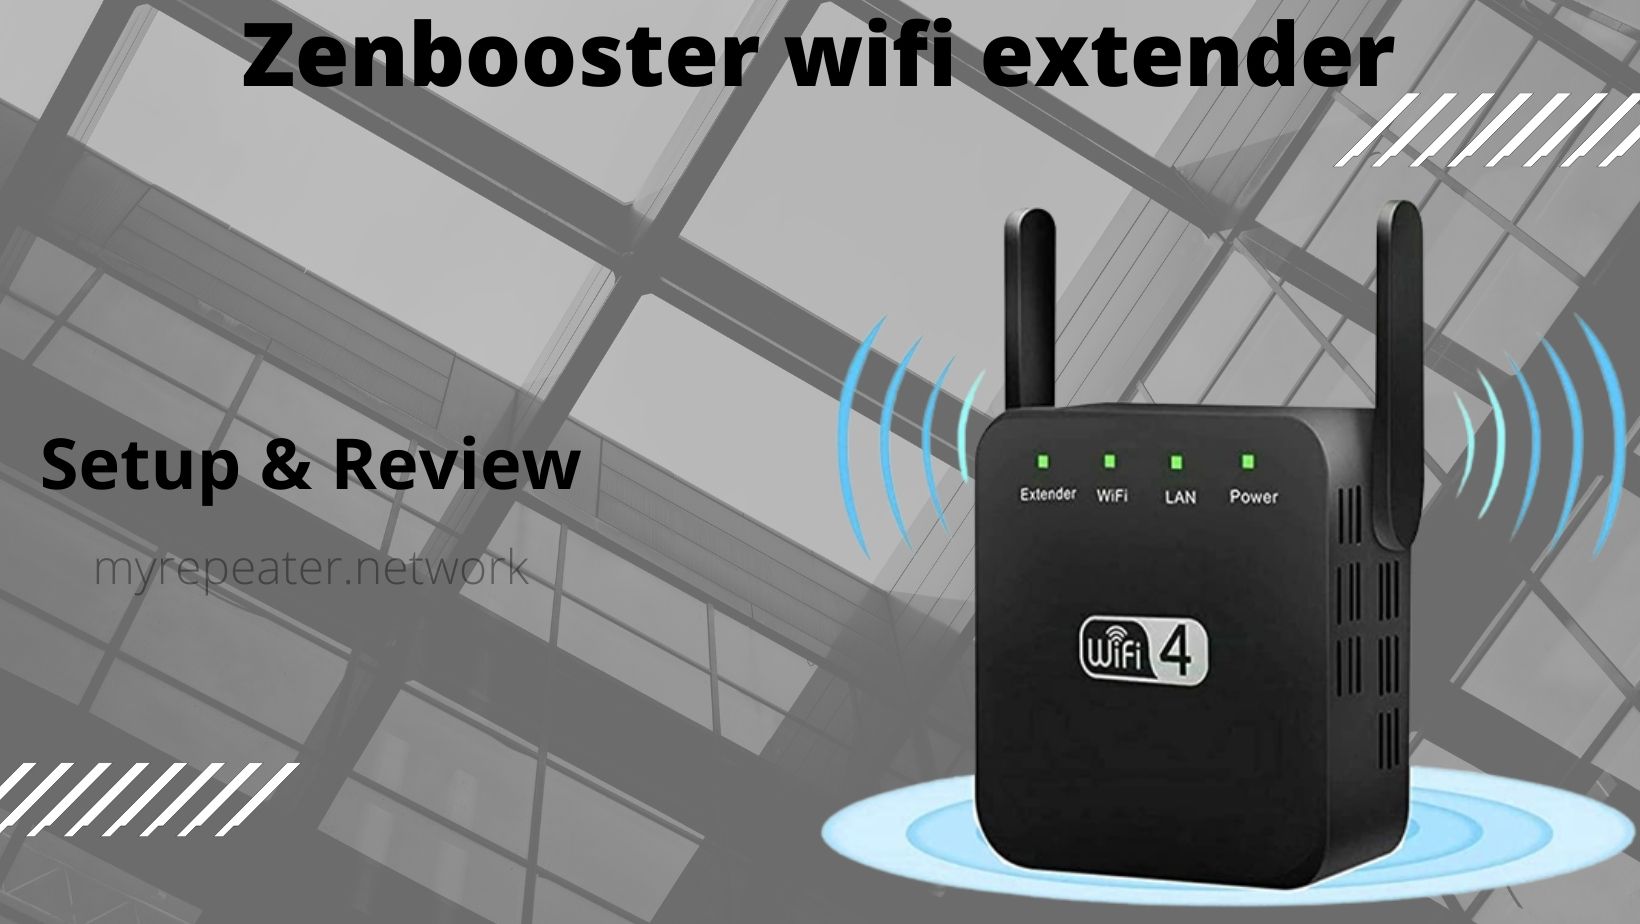
In this article “How To Setup Zenbooster wifi extender?” we help you to setup your Zenbooster wifi extender using two methods 1. WPS Method 2. Web page and also give you Zenbooster wifi reviews.
Click On Setup Button To Setup Your Zenbooster Wifi Extender
Setup Zenbooster wifi extender Using the WPS Method:
WPS is an easy method of connecting your extender device to your host router. Because the WPS button on the Zenbooster Wifi range extender is supported, you can use it to connect to your host router first. Setup a Zenbooster Wifi 4 extender without using any wired or wireless connections by following these simple steps.
- Unbox your Zenbooster extender and connect it to a power outlet near your host router.
- Wait a few moments for the Repeater to properly switch on.
- On Zenbooster, hit the WPS button, and on the router, push the WPS button within 2 minutes.
- The Zenbooster Signal LED light will turn solid green after a successful connection.
- Check your phone’s WiFi for a new Extender SSID name that will duplicate your current WiFi network.
- Unplug the Zenbooster extender and install it in a proper spot where it can receive a stronger signal from the host router and give a range to areas with no service.
If Zen booster WPS isn’t functioning for you and your Zen booster isn’t connected to WiFi, try the Login method next.
Setup Zenbooster wifi extender Using Web Page:
Logging in to the Zenbooster WiFi extender device via a web browser required a WiFi or wired Ethernet connection from the Extender Ethernet connector. If you wish to set up from your phone, simply open your phone’s WIFI and connect to the Zenbooster SSID network name. Adhere to the instructions.
- Take Zenbooster wifi extender out of the package and plug it into a power outlet near your wifi router.
- Go to Wi-Fi settings on your phone or laptop and connect to the default SSID.
- Connect the LAN cable from the Repeater Ethernet port to the PC/Laptop LAN for a connected connection.
- Go to http://192.168.188.1 in a web browser and wait for the Zenbooster login screen to load.
- For first-time login, use the default username and password “admin.”
- Once you login, the Zenbooster wifi 4 Extender will begin looking for nearby WIFI networks.
- Wait for the SSID list to arrive. Choose your current WiFi network name from the drop-down menu.
- To connect from the Range Extender, enter your existing wifi password.
- Extender network name- If you want to give Extender a new name, do it now.
- The password for the Zenbooster wifi extender Wifi network will be the same as the password for the host wifi network.
- After completing the zenbooster setup process, the range extender may reboot and complete the connection with the router.
- When your Repeater is configured with a host, network, the wifi signal LED light will turn solid blue or green, indicating that the Zenbooster wifi 4 extender is connected and ready to use.
- Turn off the Zenbooster Wifi 4 Extender and find a good spot where it can connect to the host router and extend the range when there is no signal.
Zenbooster Extender Reviews
zenbooster wifi booster reviews help people find items that fit their budgets and meet their needs. Zen booster wifi 4 reviews help you find a range extender that can improve your internet signal and speed in areas where your main router doesn’t reach. WAYAYA WiFi Extender 2.4Ghz Web Speed Booster 300M If you have a fast internet router and a dual-band host router, you can use Zenbooster wifi on 5.8GHz dual-band.
An Ethernet port allows you to connect a wired computer, network printer, or other non-wifi device. Dual Omni antennas provide a long-range signal that extends WiF 4 range in areas with poor signals.
Read more about:
Great article, exactly what I needed.