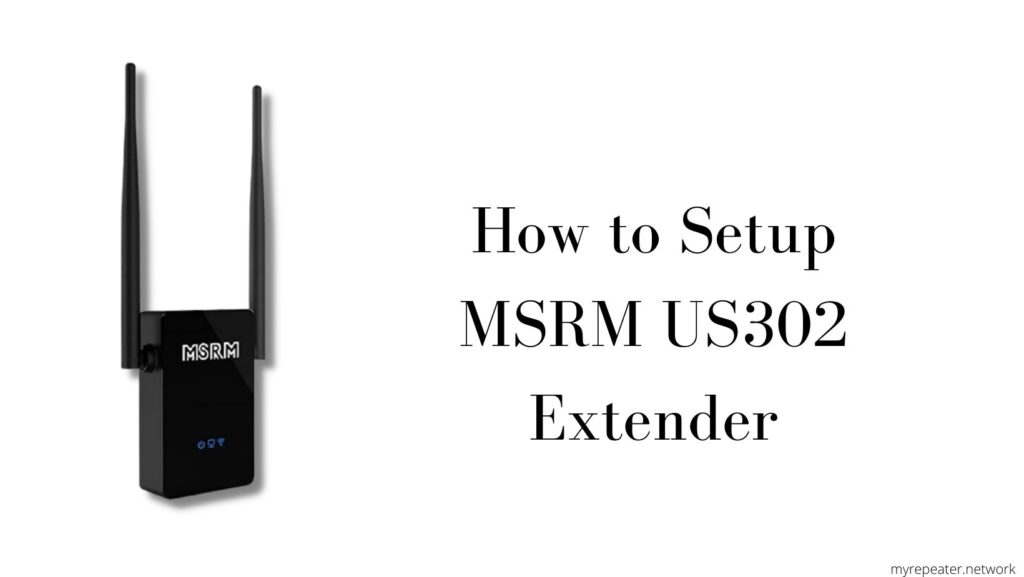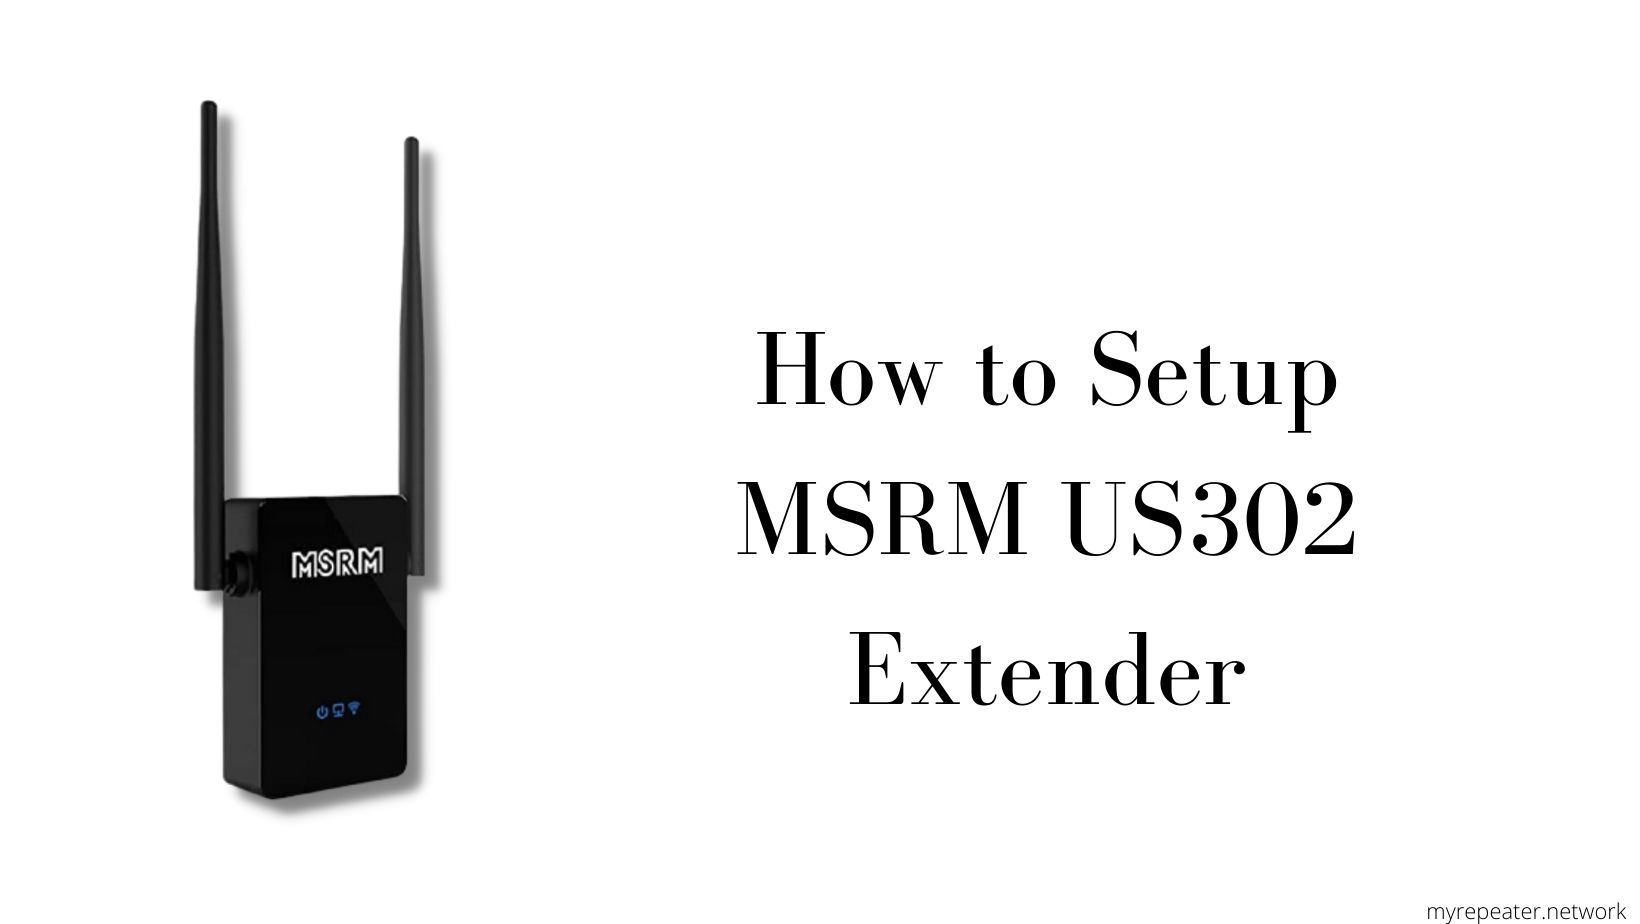
In this post, we’ll go over all there is to know about the Setup MSRM US302 extender. Here’s what you need to know if you want to reduce the number of dead zones in your house or office. The MSRM US302 repeater, with its latest features such as universal compatibility, is typically an excellent choice for you. Furthermore, no CD is required for this installation; you may easily access the setup through phone or laptop. For best performance, the MSRM US302 extender should also be configured as an access point, which can provide much faster speeds than the router. The three LED lights on the front of the device indicate power, client status, and Wi-Fi status. So, let’s get started with the configuration.
Setup MSRM US302 Range Extender using Web Browser
Follow these steps to setup MSRM US302 Wi-Fi extender:
- Place your MSRM Wi-Fi extender in the middle of your network, halfway between your router and the area where you wish to improve your Wi-Fi.
- Then, hold on for a few moments until the MSRM repeater’s power LED turns stable, and connect it to your device, such as a laptop, PC, or phone.
- Now go to the Wi-Fi list and look for MSRM default network name. “Wireless-N” or “Wireless AC” may appear.
- Once you’ve found it, connect to it using that network name; the first time you connect, it won’t ask for a password. Furthermore, when you are connected to it, you will notice “No internet.”
- Now open your device’s browser and type http://ap.setup or 192.168.10.1 in the address bar; a wizard will appear.
- Next, pick Repeater/Extender as the mode and click Next. It will lead you to the login screen, where you must enter the credentials “admin” in both the username and password fields.
- Finally, choose the network you’d like to expand and enter its password.
- Confirm that the configuration is complete, and the MSRM US302 repeater will reboot in less than 60 seconds.
- Finally, connect your devices to the new Wi-Fi network (SSID EXT) that you created.
Setup MSRM US302 Repeater via WPS Button
Setup of the US302 MSRM repeater using WPS is relatively simple and takes less than 10 minutes. Let’s get started with the steps:
- First, make sure the extender is plugged into the same outlet as your router.
- Once the power LED has stabilized, click the WPS button on the US302 repeater.
- Once you’ve completed the process, you’ll notice that the lights on both devices begin to link after 2 minutes.
- Once the configuration is complete, the WPS light on the router will stop blinking and the light on the extender will turn solid.
- Finally, go to your Wi-Fi list and join your devices to the newly formed extender network, which has the same SSID as your router and the same password.
Configure MSRM US302 Repeater as an Access point.
Setting it up as an Access point will be the simplest alternative for you if you’re looking for high-speed transmission from this device. This will need the use of an Ethernet cable that meets the standards. If you want to place the current extender 20 feet away from the router, use a 20-foot cable. Connect one end of the Ethernet cable to the extender and the other to the router’s LAN port.
- First, connect your devices, such as laptops and phones, to the repeater’s Wi-Fi network, ensuring that the MSRM network name appears in your Wi-Fi list.
- Open your browser (Chrome, Firefox, etc.) and type “192.168.10.1” into the address bar.
- After that, you’ll be taken to the login page. Enter “admin” as the username and “admin” as the password in the credentials.
- Now you must select “Access point” as the mode and proceed with the configuration.
- Next, give your access point a name, a password, and a security type, and then click Next.
- Once you’ve completed the operation, save the changes and reboot for 60 seconds.
- The final step is to connect your devices to the newly formed access point.
The configuration of the MSRM US302 repeater as an Access Point has been completed successfully.
