
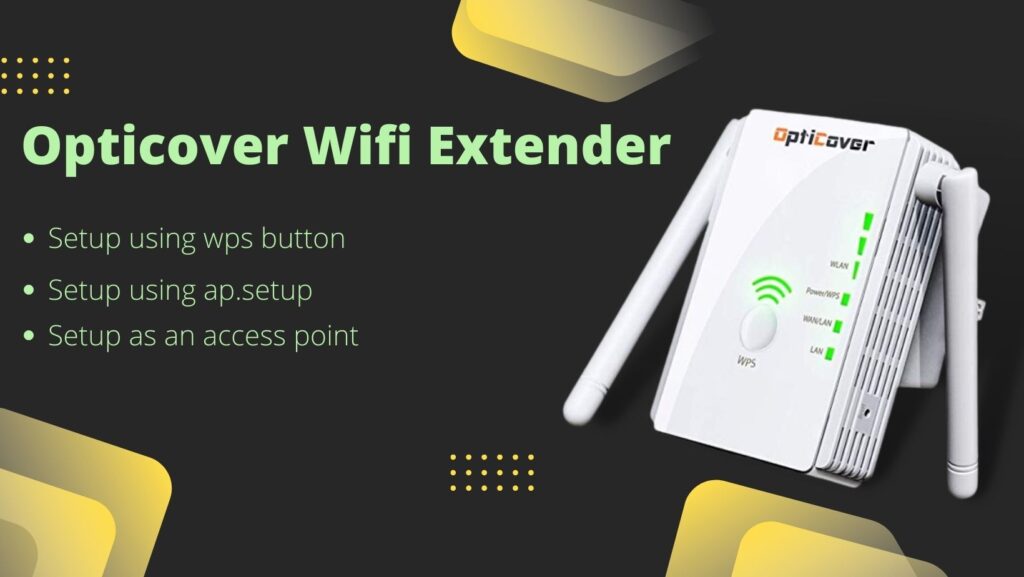
The optiCover wifi extender is a dual-band wireless device that can boost signals on the 802.11 Ac, a/b/g/n frequencies. It aids in extending the range of an existing wireless WiFi signal. This wireless signal booster increases the quality of your existing wifi network. The OptiCover G1200-0828 is a dual-band wifi extender, meaning it works with both the 2.4GHz and 5GHz bands. Its four exterior antennas boost the signal strength and range of your WiFi network, making it ideal for homes, offices, and apartments of all sizes.
Setup Opticover Wi-Fi extender Via WPS Button
- Open the extender’s packaging to begin installation, then connect it into a wall outlet close to the configuration of the home router.
- The WPS button on the router should then be pressed. For two seconds, press and hold the WPS button.
- Press and hold the WPS button on the WiFi range extender for two seconds after hitting the WPS button on the router.
- Once you’ve connected the extender to the router, keep an eye out for the LED lights to activate.
- Next, verify the network SSID of the extender in your laptop’s or mobile device’s WiFi settings. To connect to the expanded SSID, you need to enter your old WiFi password.
- After connecting the wifi repeater to the existing WiFi network, unplug it and replug it in a different location.
Opticover Setup Via Web Browser
- Start by positioning the extension in the same space as your existing router.
- To turn it on, plug it into a power source.
- Utilize your PC or laptop’s Wi-Fi manager to join the extender’s network.
- Go to your preferred web browser now and log in.
- To fill out the form, go to http://ap.setup or enter 192.168.188.1.
- Enter your username and password to login when prompted.
- If your username or password is incorrect and you’re having trouble signing in, get in touch with one of our knowledgeable experts by chat or email.
- To finish setting up your Wifi Extender, adhere to the on-screen directions.
How To Setup Opticover Wifi Extender as an Access Point?
- The extender should first be plugged into an outlet. Keep waiting for the Power LED to turn green. Press the Power On/Off button firmly if the Power LED does not illuminate.
- The extender’s Ethernet port should then be connected with an Ethernet cable to a router’s Ethernet LAN port or a distant Ethernet LAN connector with LAN access. By joining the LAN, the extender establishes a Wi-Fi hotspot.
- To locate and join the opticover_EXT (SSID) Wi-Fi network, you may also use a Wi-Fi network manager on a PC or Wi-Fi gadget. The Device Link LED turns on upon the establishment of the connection with the PC or Wi-Fi device.
- Then open a web browser and enter http://ap.setup in the address bar. The screen for new appears.
- After that, click NEW EXTENDER SETUP. It displays the Extender Setup screen.
- And click the NEXT button after filling out the boxes on the Extender Setup page.
- Click the ACCESS POINT button after that. Click the NEXT button after entering the network name (SSID), security setting, and password for each access point network. Your changes have been made, and the extender is now ready to be utilized as an access point for wifi range extender.
- Finally to join, to the new access point Wi-Fi network, use a Wi-Fi network manager on the computer or Wi-Fi device.
How to reset the OptiCover Repeater?
- Wait for the repeater device to fully charge up before plugging in the power cord.
- Search for a little hole or button that resets the gadget.
- Hold the reset button down for 8 to 10 seconds when all of the LED lights suddenly go out and come back on.
- After the extender device reboots, it will take around three minutes to restore the default configuration to factory defaults.
- You can attempt to re-configure the extender using the WPS or Login procedures described above after you’ve reset the device.