
We also require a wireless network at every location where we are. It is no longer sufficient to have a wireless signal at a specified location at home or at work. As a result, we employ WIFI EXTENDER to extend the signal because it is the most effective technique to expand the network throughout your house or office. GALAWAY WIFI EXTENDER is the best version of the extender since it extends and distributes the wireless network signal to any place where the router signal cannot reach. Also, because they are inexpensive, having a WIFI EXTENDER at home has become very popular.
Furthermore, a difficulty with a wireless WIFI network can also be caused by an outdated router. Even if you get a new extender, you will still have network issues because you have an old router. So, before you set up the WIFI range extender, double-check that your router is operational.
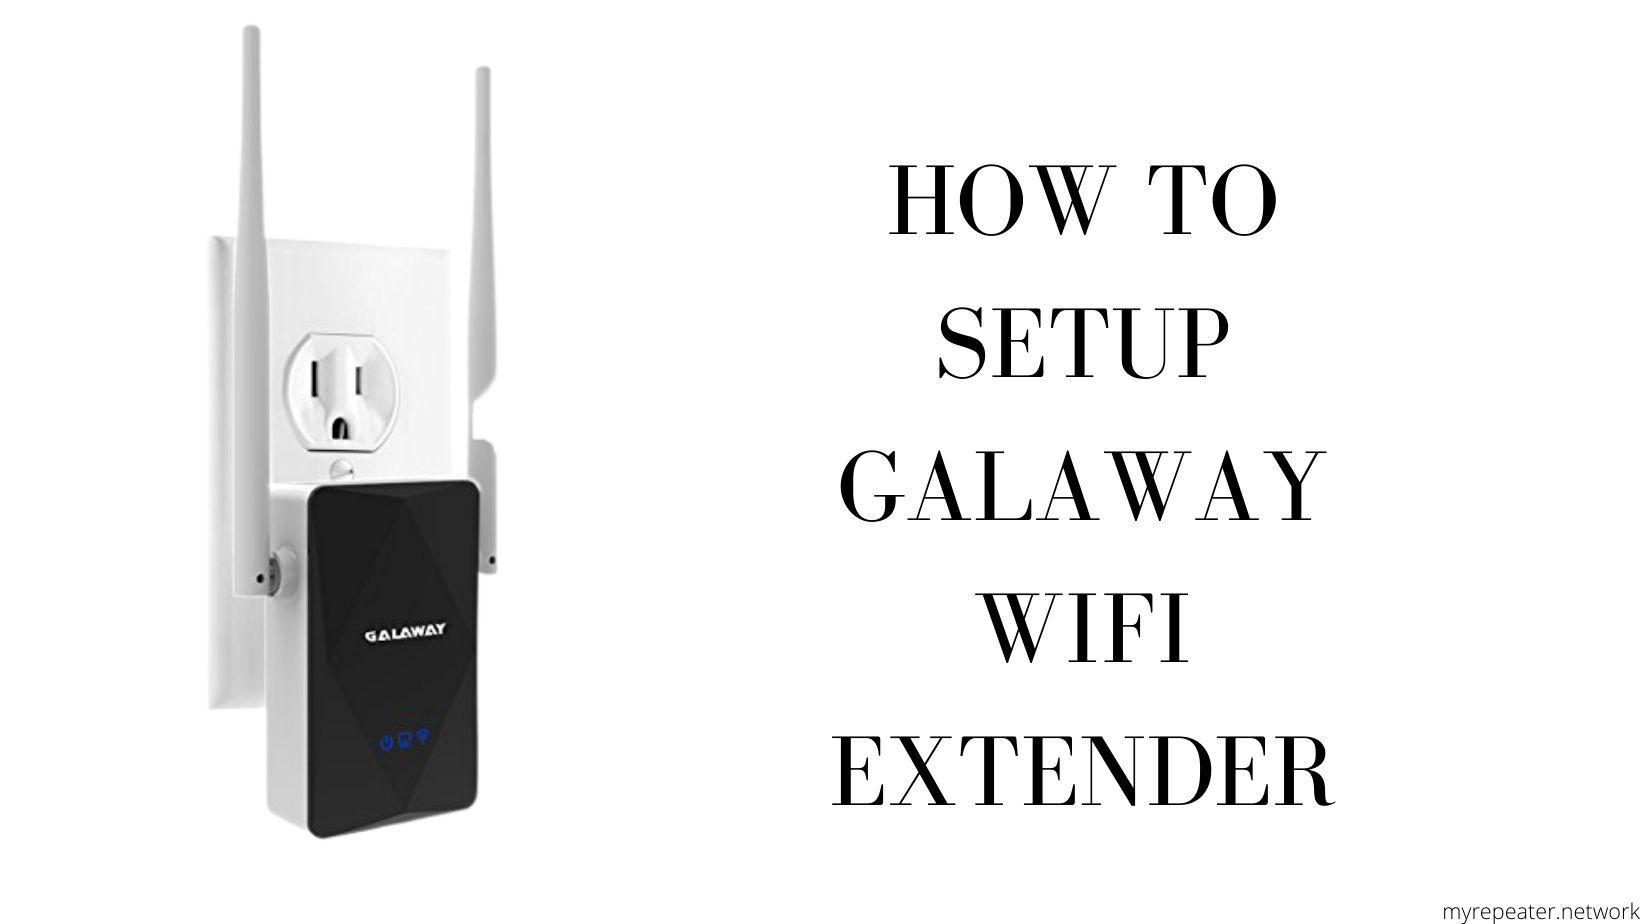
HOW DO I CONNECT MY GALAWAY WIFI EXTENDER TO THE INTERNET?
The GALAWAY WIFI EXTENDER’s placement is crucial. You must install it in the proper locations; incorrect installation will not solve your WIFI network dead spots. If the wireless signal continues to be a problem. The ROUTERS and many other electrical gadgets use the same radio waves as the WIFI RANGE EXTENDER. Furthermore, the WIFI RANGE EXTENDER is designed to receive a strong wireless signal from the ROUTER and then rebroadcast it to the regions where the network signal cannot reach owing to distance or obstructions.
GALAWAY WIFI EXTENDER SETUP IN 3 EASY STEPS
To Setup Galaway Wifi Extender, follow the steps below:
1. USE THE WPS BUTTON TO SET UP:
This is largely dependent on whether or not your router has a WPS button. The acronym WPS stands for Wi-Fi Protected Setup. This feature is now available on almost all current routers. It’s an arrow-labeled button that looks like a yin and yang symbol. In comparison to the other possibilities, it provides for a faster and more direct procedure.
Initially, both the router and the extender must be configured using the WPS button. The extender will then display a solid green light, indicating that it has established a connection with the router.
2. ETHERNET CABLE INSTALLATION:
- The GALAWAY WIFI EXTENDER utilizes an Ethernet cable.
- Plug one end of the Ethernet cable into the extender and the other onto a laptop or PC on the same network as the router.
- Next, open a browser window and type the IP address of the extender device you’re configuring, which is 192.168.10.1. The IP address will be printed in the device’s instruction manual.
- Next, input the login credentials and follow the on-screen prompts to configure the network name and security.
When there is a significant distance between the router and the WIFI dead spot. In addition, if you want Wi-Fi in your garden, you should consider using the Ethernet wire after the initial setup. The cable links the router and the extender, allowing the extender to broadcast WIFI signals at the new area.
3. WIRELESS INSTALLATION:
The majority of individuals recommend this step for those who follow these steps:
- Unpack your device and plug it in. Make sure you do it in the same room as your router.
- Next, turn on the power and set the time on the extender till the green power Led light is solid green. If it’s still blinking, don’t go any farther.
- Finally, turn on Wi-Fi on your laptop, phone, or computer. Connect to this Wi-Fi by looking for the name of your new GALAWAY EXTENDEDR in the Wi-Fi list.
- Now, on your phone or laptop, open a browser window and type the IP address listed in the instruction booklet.
- A login screen will now appear, and you must log in using the credentials listed in the instructions. Both the username and password for GALAWAY devices will be admin. Please check the instruction manual for confirmation.
- Now that you’ve logged in, go to the repeater wizard, which will guide you through the process.
- Select the name of your router and enter the password, then click Apply.
- The default Wi-Fi on your extender will be disabled, and you will be logged out. It will use the router’s updated Wi-Fi settings.
- At this point, your extender is ready to use.